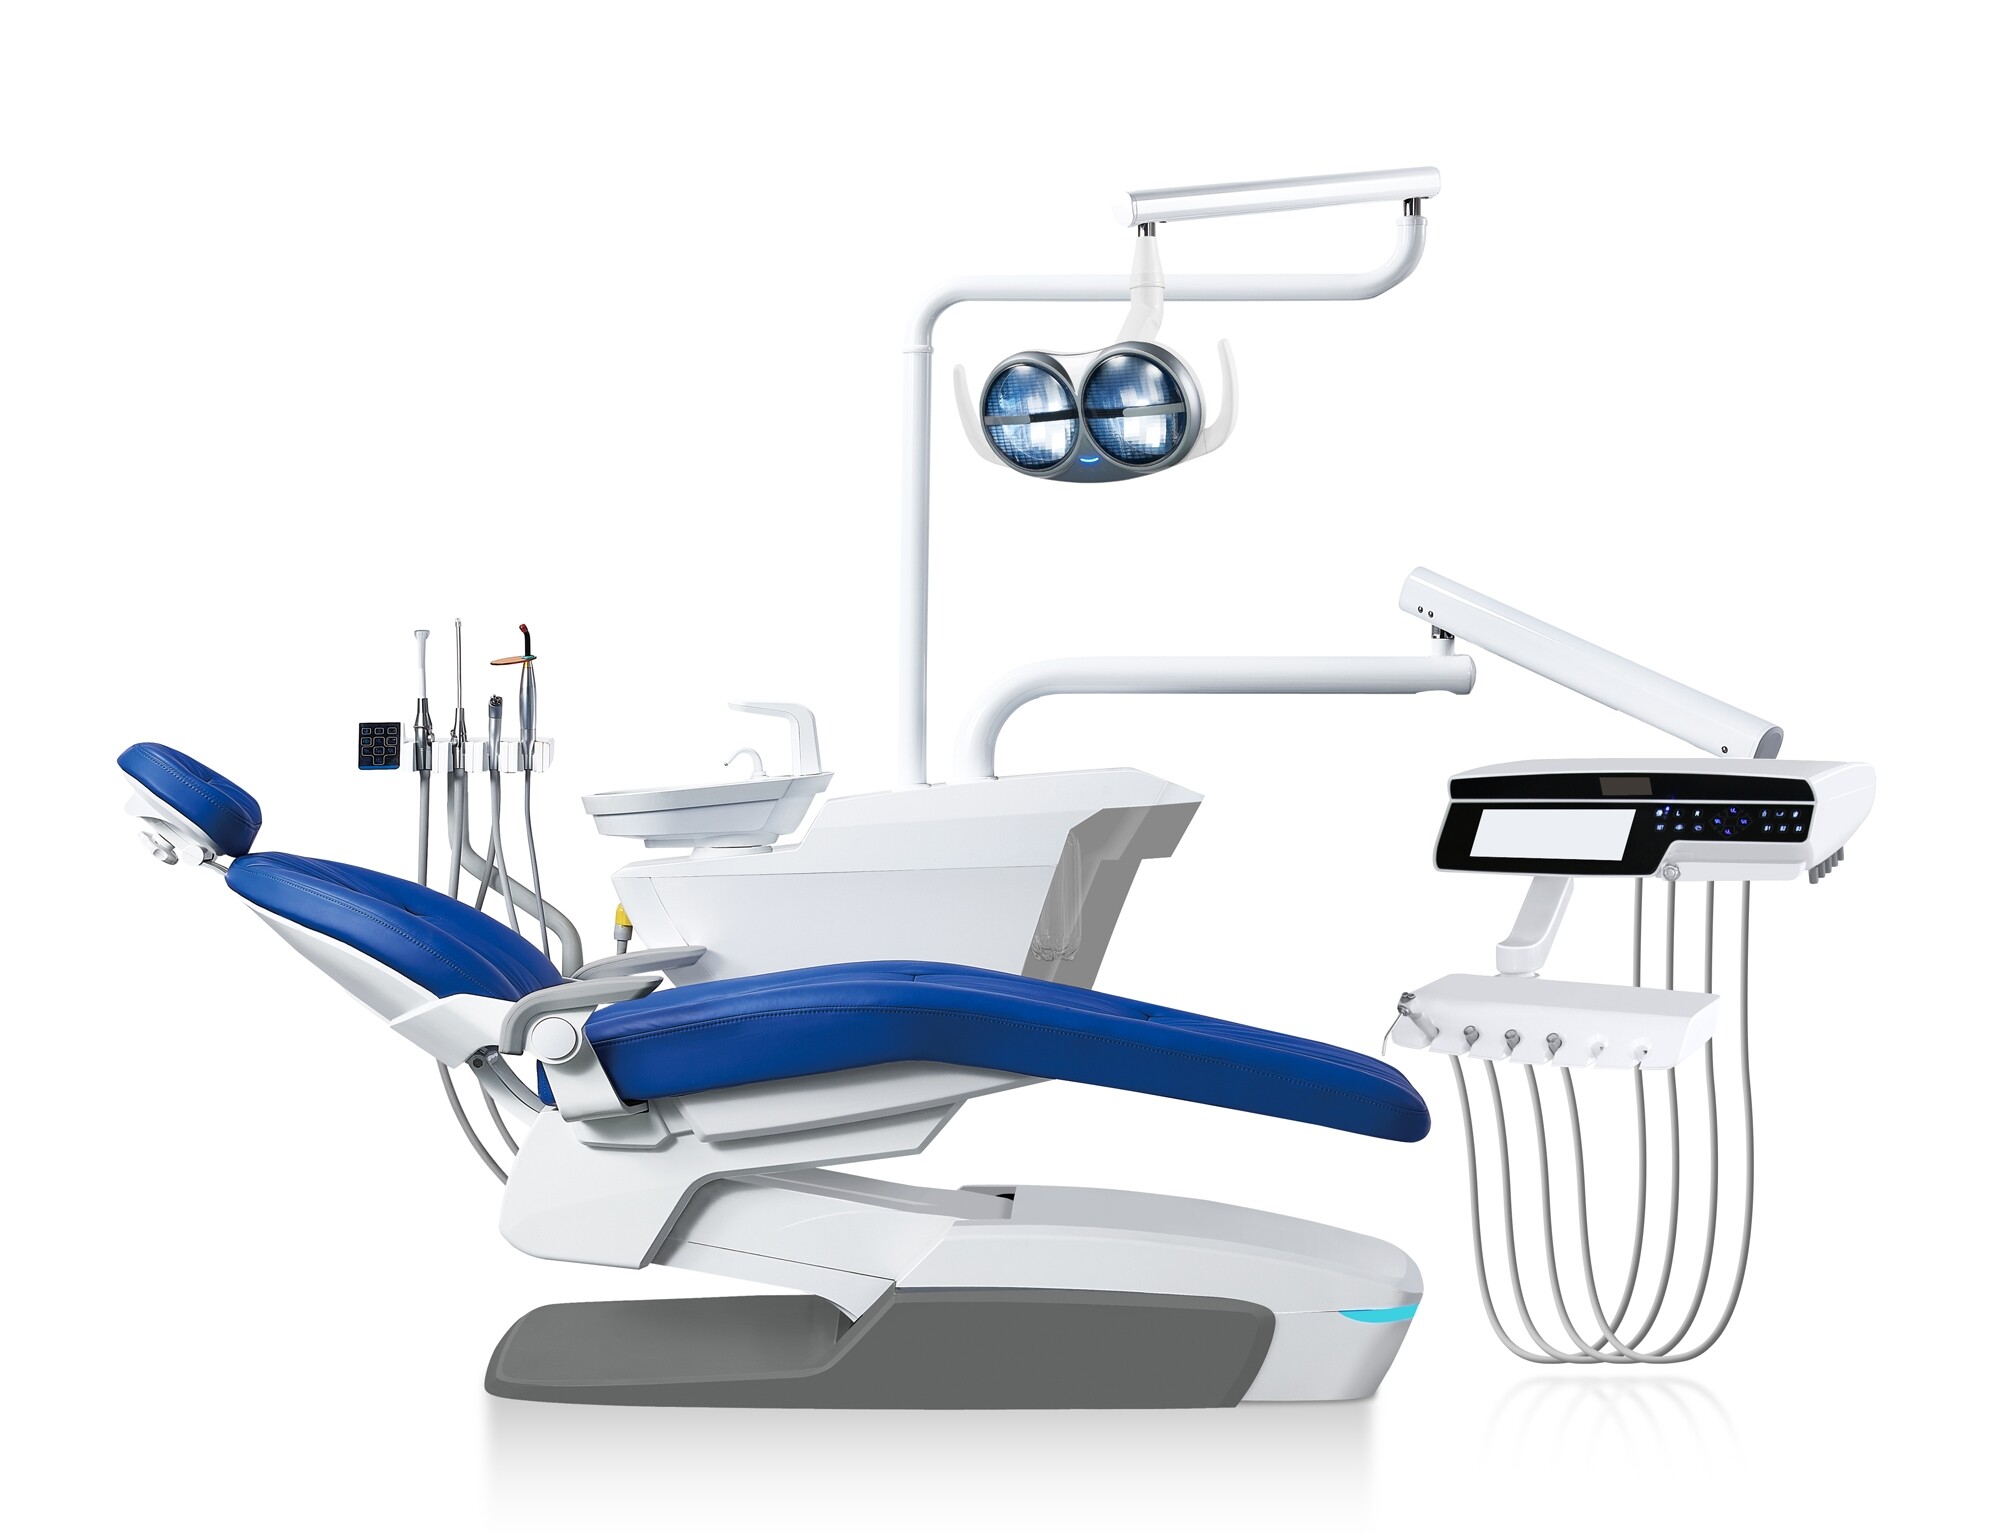
Dental units are essential pieces of equipment used in dental practices. They are used to examine, diagnose, and treat dental problems. Therefore, it is crucial to ensure that they are cleaned and disinfected properly to prevent the spread of infection and disease. In this article, we will discuss the steps on how to properly clean and disinfect dental units.
Before cleaning the dental unit, it is important to prepare the cleaning and disinfecting solution. The cleaning solution should be a mild detergent or soap and water. The disinfecting solution should be a hospital-grade disinfectant that is effective against bacteria, viruses, and fungi. Follow the manufacturer's instructions when preparing the disinfectant solution to ensure its effectiveness.
Ensure that the dental unit is turned off and unplugged from the power source. This step is essential to prevent any electrical shocks when cleaning the unit.
Remove any disposable items such as gloves, masks, and gowns that were used during the treatment. Dispose of them properly in a medical waste bin.
Pre-cleaning the dental unit involves removing any visible debris or dirt from the surfaces of the unit. Use a soft-bristled brush or cloth to scrub the surfaces of the unit. Pay close attention to areas that are difficult to reach, such as hinges, knobs, and switches. Use the mild detergent or soap and water solution to clean the surfaces.
After pre-cleaning the dental unit, it is time to disinfect it. Apply the hospital-grade disinfectant solution to the surfaces of the unit. Ensure that the solution is applied evenly to all surfaces. Follow the manufacturer's instructions for the recommended contact time for the disinfectant solution. The contact time is the amount of time that the disinfectant needs to remain on the surface to effectively kill bacteria, viruses, and fungi.
After the recommended contact time, rinse the surfaces of the dental unit with clean water. Ensure that all surfaces are thoroughly rinsed to remove any residue from the disinfectant solution.
After rinsing the dental unit, use a clean cloth to dry the surfaces. Ensure that all surfaces are completely dry to prevent the growth of bacteria or fungi.
Once the dental unit is dry, reassemble it. Ensure that all the components are properly attached and secured. Double-check that all the switches and knobs are in the correct position.
Perform quality control checks to ensure that the dental unit is functioning correctly. This step involves testing the unit to ensure that it is functioning according to the manufacturer's specifications.
All in all, proper cleaning and disinfection of dental units are essential to prevent the spread of infection and disease. Follow the steps outlined in this article to properly clean and disinfect dental units. It is important to use the recommended cleaning and disinfecting solutions and to follow the manufacturer's instructions to ensure that the dental unit is properly disinfected. Performing quality control checks is also essential to ensure that the dental unit is functioning correctly. By following these steps, you can ensure that your dental unit is clean, disinfected, and ready for use.
-1.jpg)
-3-1.jpg)
.jpg)
-1.jpg)